Snowflake
Integrate via Direct Connect
Steps
1. Create a Role
Create a role, name it KUBIT.
CREATE ROLE KUBIT;2. Generate a Key-pair
Here's Snowflake's full guide for reference).
openssl genrsa 2048 | openssl pkcs8 -topk8 -v2 des3 -inform PEM -out rsa_key.p8
openssl rsa -in rsa_key.p8 -pubout -out rsa_key.pub
3. Create a User
Create a user, name it KUBIT and set the public key you generated in the previous step.
CREATE USER KUBIT RSA_PUBLIC_KEY ='MIIBIjANBgkqh...' DEFAULT_ROLE=KUBIT4. Create a Database
Kubit needs to create a very small auxiliary table to support some features.
- Create a database called
KUBIT.CREATE DATABASE KUBIT; - Make the
KUBITrole owner of theKUBITdatabase. This will allow us to create and execute tasks that are only available to an owner role.GRANT OWNERSHIP ON DATABASE KUBIT TO ROLE KUBIT;
5. Create a Warehouse
Create a Data Warehouse called KUBIT (size depends on your data volume)
Grant the KUBIT role the following privileges: MONITOR | USAGE | OPERATE
CREATE OR REPLACE WAREHOUSE KUBIT WAREHOUSE_SIZE=... INITIALLY_SUSPENDED=TRUE;
GRANT MONITOR ON WAREHOUSE KUBIT TO ROLE KUBIT;
GRANT USAGE ON WAREHOUSE KUBIT TO ROLE KUBIT;
GRANT OPERATE ON WAREHOUSE KUBIT TO ROLE KUBIT;
6. Grant Access
Add read-only (SELECT on FUTURE) permissions to the KUBIT role to the schema(s) containing the views interfacing with Kubit.
5. Share Connection Details (Optional)
Share your Snowflake account locator, private key and key password and warehouse name with the Kubit team if you need help setting up your Kubit environment.
7. Split Test and Production Workloads (Optional)
Best PracticeCreate one more user role and warehouse for development purposes in order to isolate the impact on the production environment and avoid accidents.
Best Practices
Clustering Keys
- Kubit works with time-series data so clustering by date of the fact tables is essential for performance for tables bigger than 1TB.
- Since most Kubit reports also filter by event name it is beneficial to add the event name as a second cluster column.
Here's Snowflake's reference for Clustering Keys.
Warehouse Configuration
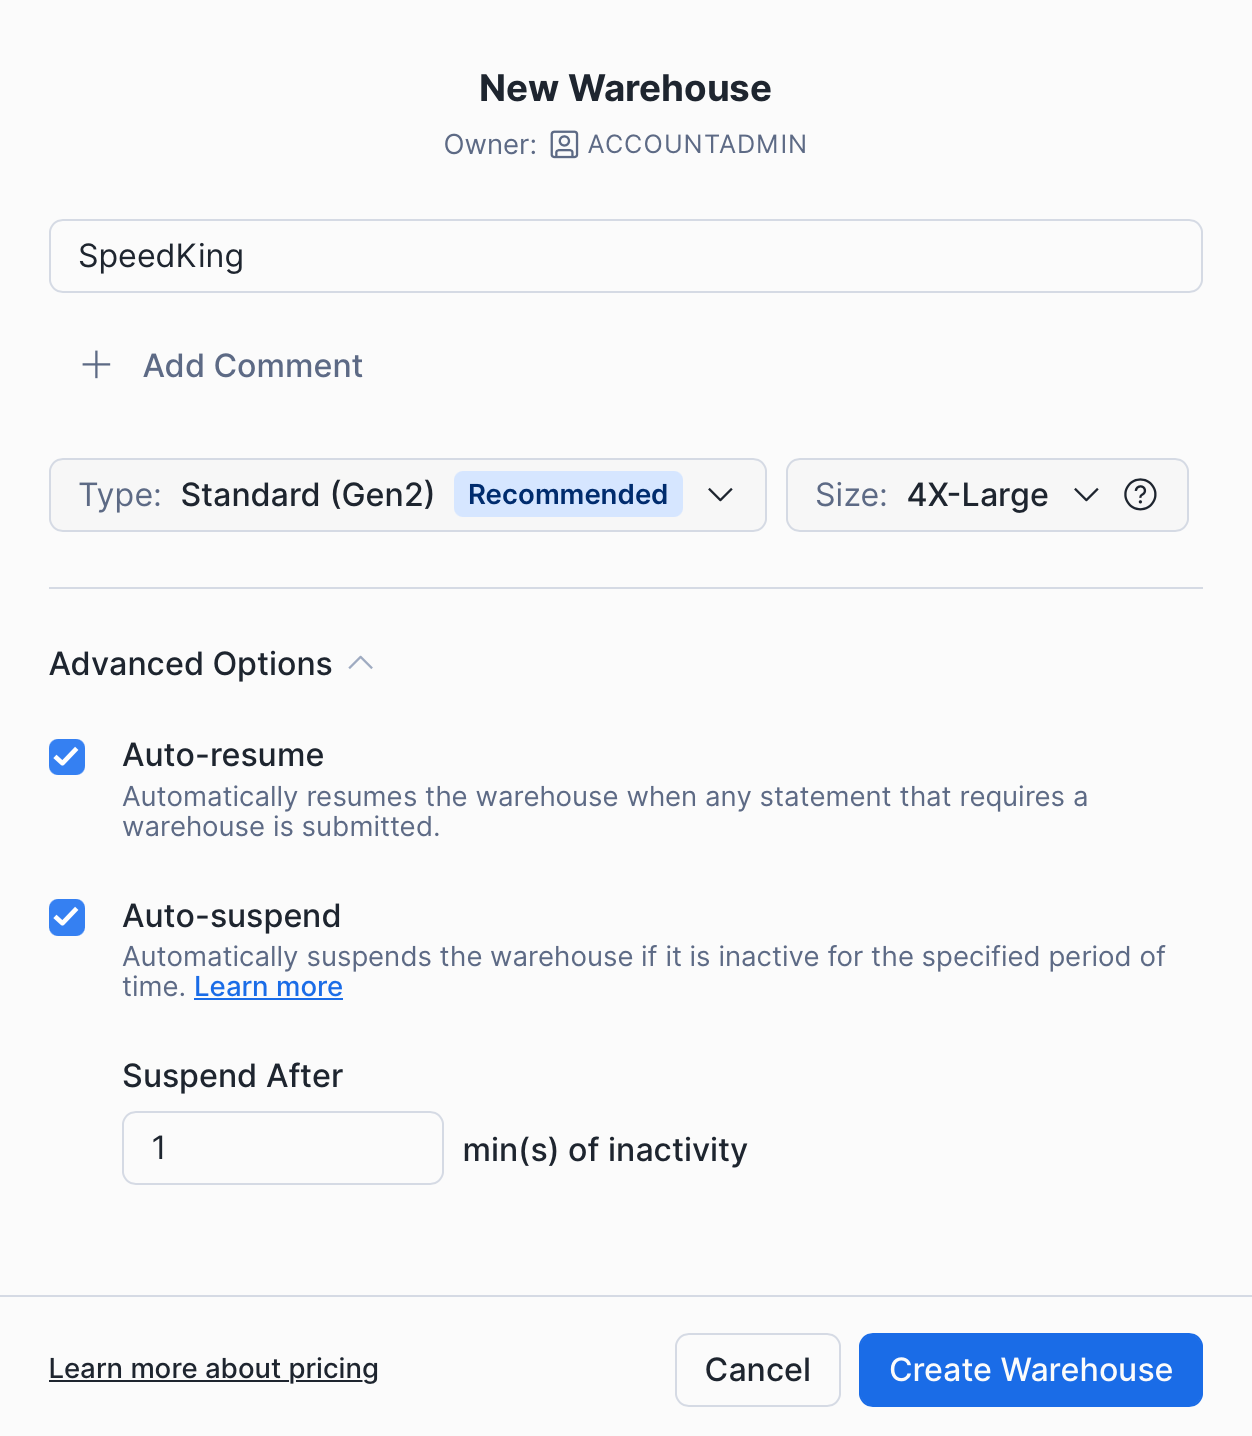
You have 4 major parameters to think of when creating a warehouse:
- Type - Gen2 is the recommended type for analytical workloads.
- Size - start small and only improve based on evidence from Query History. If the warehouse feels slow you should examine your queries with Query Profile. Look for Bytes spilled to disk above 0, if the warehouse is spilling often you need to increase the size.
- Auto-resume - you want this on so any activity wakes up the warehouse.
- Auto-suspend - this setting controls for how long the warehouse should remain up and idling after all running queries have finished executing. The trade-off is between cost saving and a few additional seconds on some Kubit reports to account for the warehouse waking up. Our default recommendation is to set it to the minimum possible - 1 minutes.

Updated 15 days ago