Azure Microsoft Entra ID (Active Directory)
Set up SSO with Azure
Requirements
- Your organization uses Azure Microsoft Entra ID for authentication.
- You have an Admin role.
Kubit team will provide:
- Identifier (Entity ID):
urn:amazon:cognito:sp:<CONNECTION_ID> - Reply URL:
https://kubit-<YOUR_ORG>.auth.<REGION>.amazoncognito.com/saml2/idpresponse
Configure SAML application
1. Create application
To add a new application in Microsoft Entra ID:
- Sign in to the Azure portal.
- Search for and select Microsoft Entra ID.
- In the left sidebar, choose Enterprise applications.
- Choose New application.
- On the Browse Microsoft Entra Gallery page, choose Create your own application.
- Under What’s the name of your app?, enter
kubit-ssoand select Integrate any other application you don’t find in the gallery (Non-gallery). Then choose Create.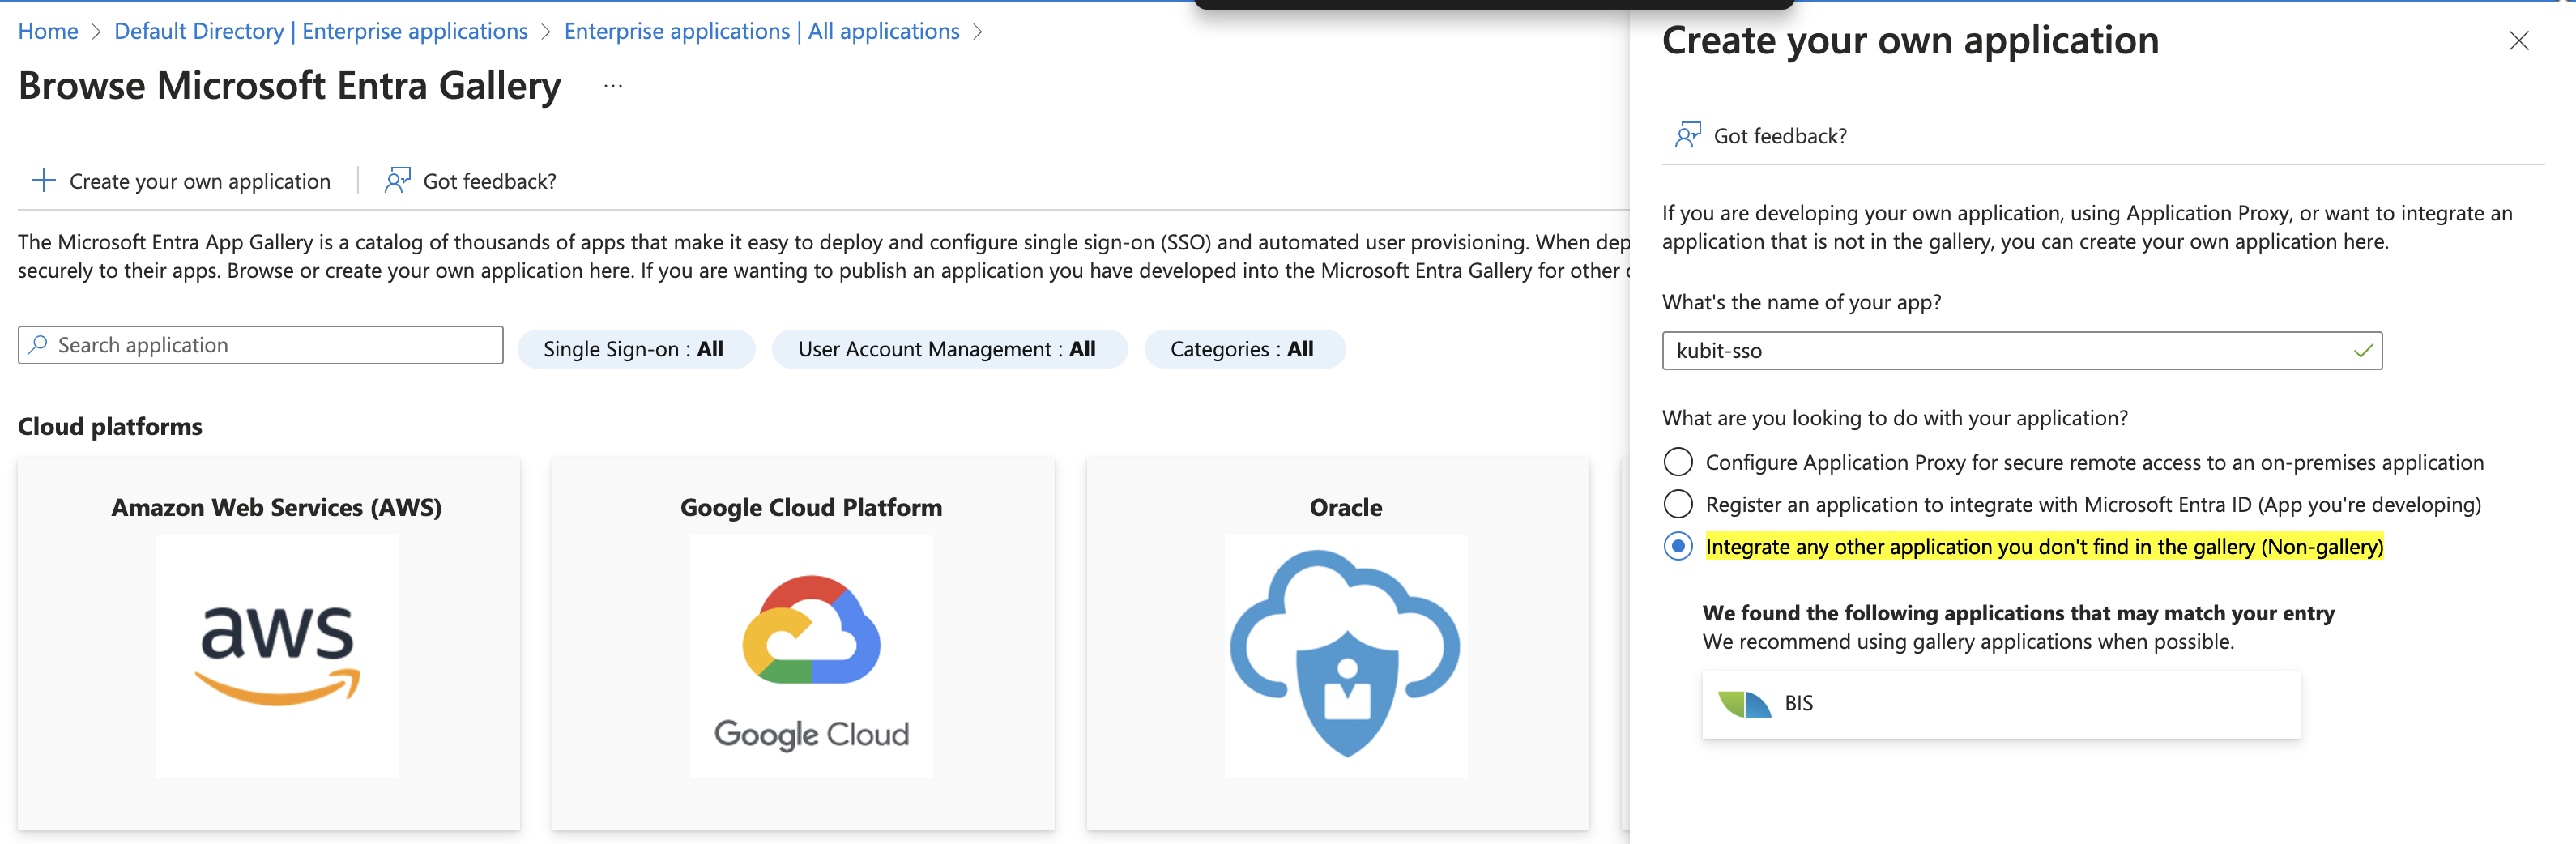
2. Configure app details
To set up Single Sign-on using SAML:
-
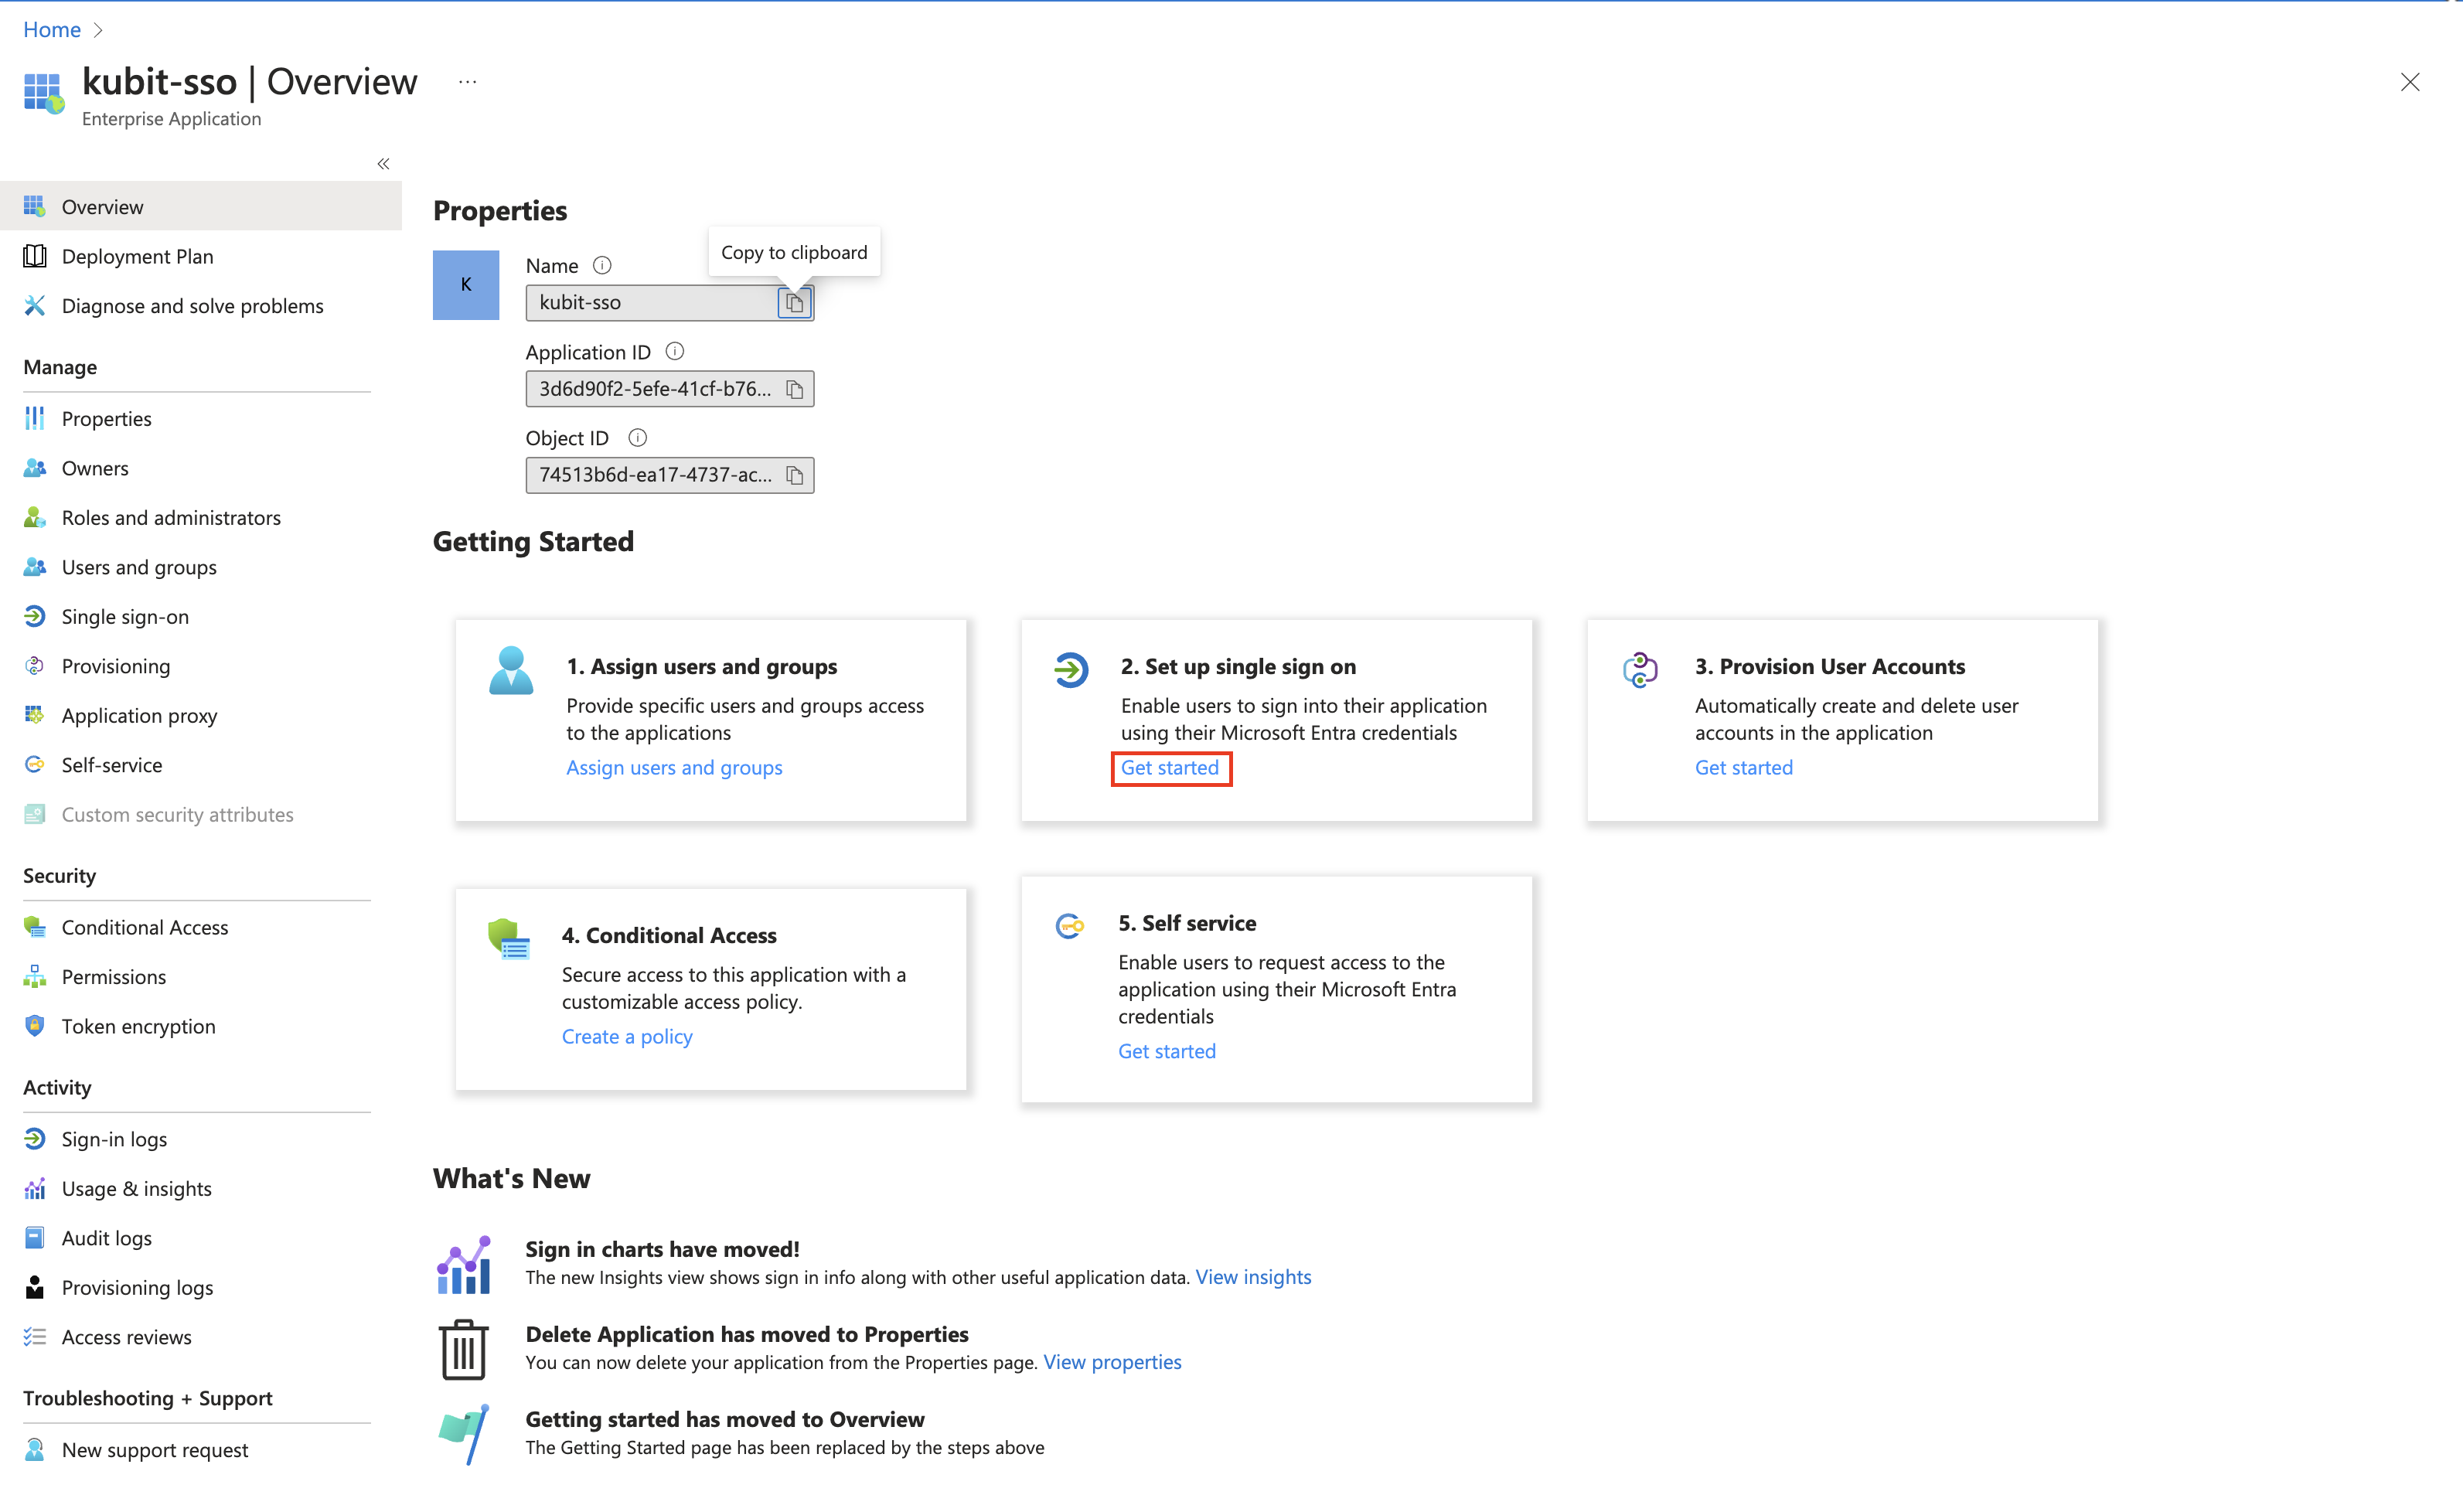
On the Getting started page, in the Set up single sign-on tile, choose Get started.
-
On the next screen, select SAML.
-
In the middle pane under Set up Single Sign-On with SAML, in the Basic SAML Configuration section, choose the edit icon.
-
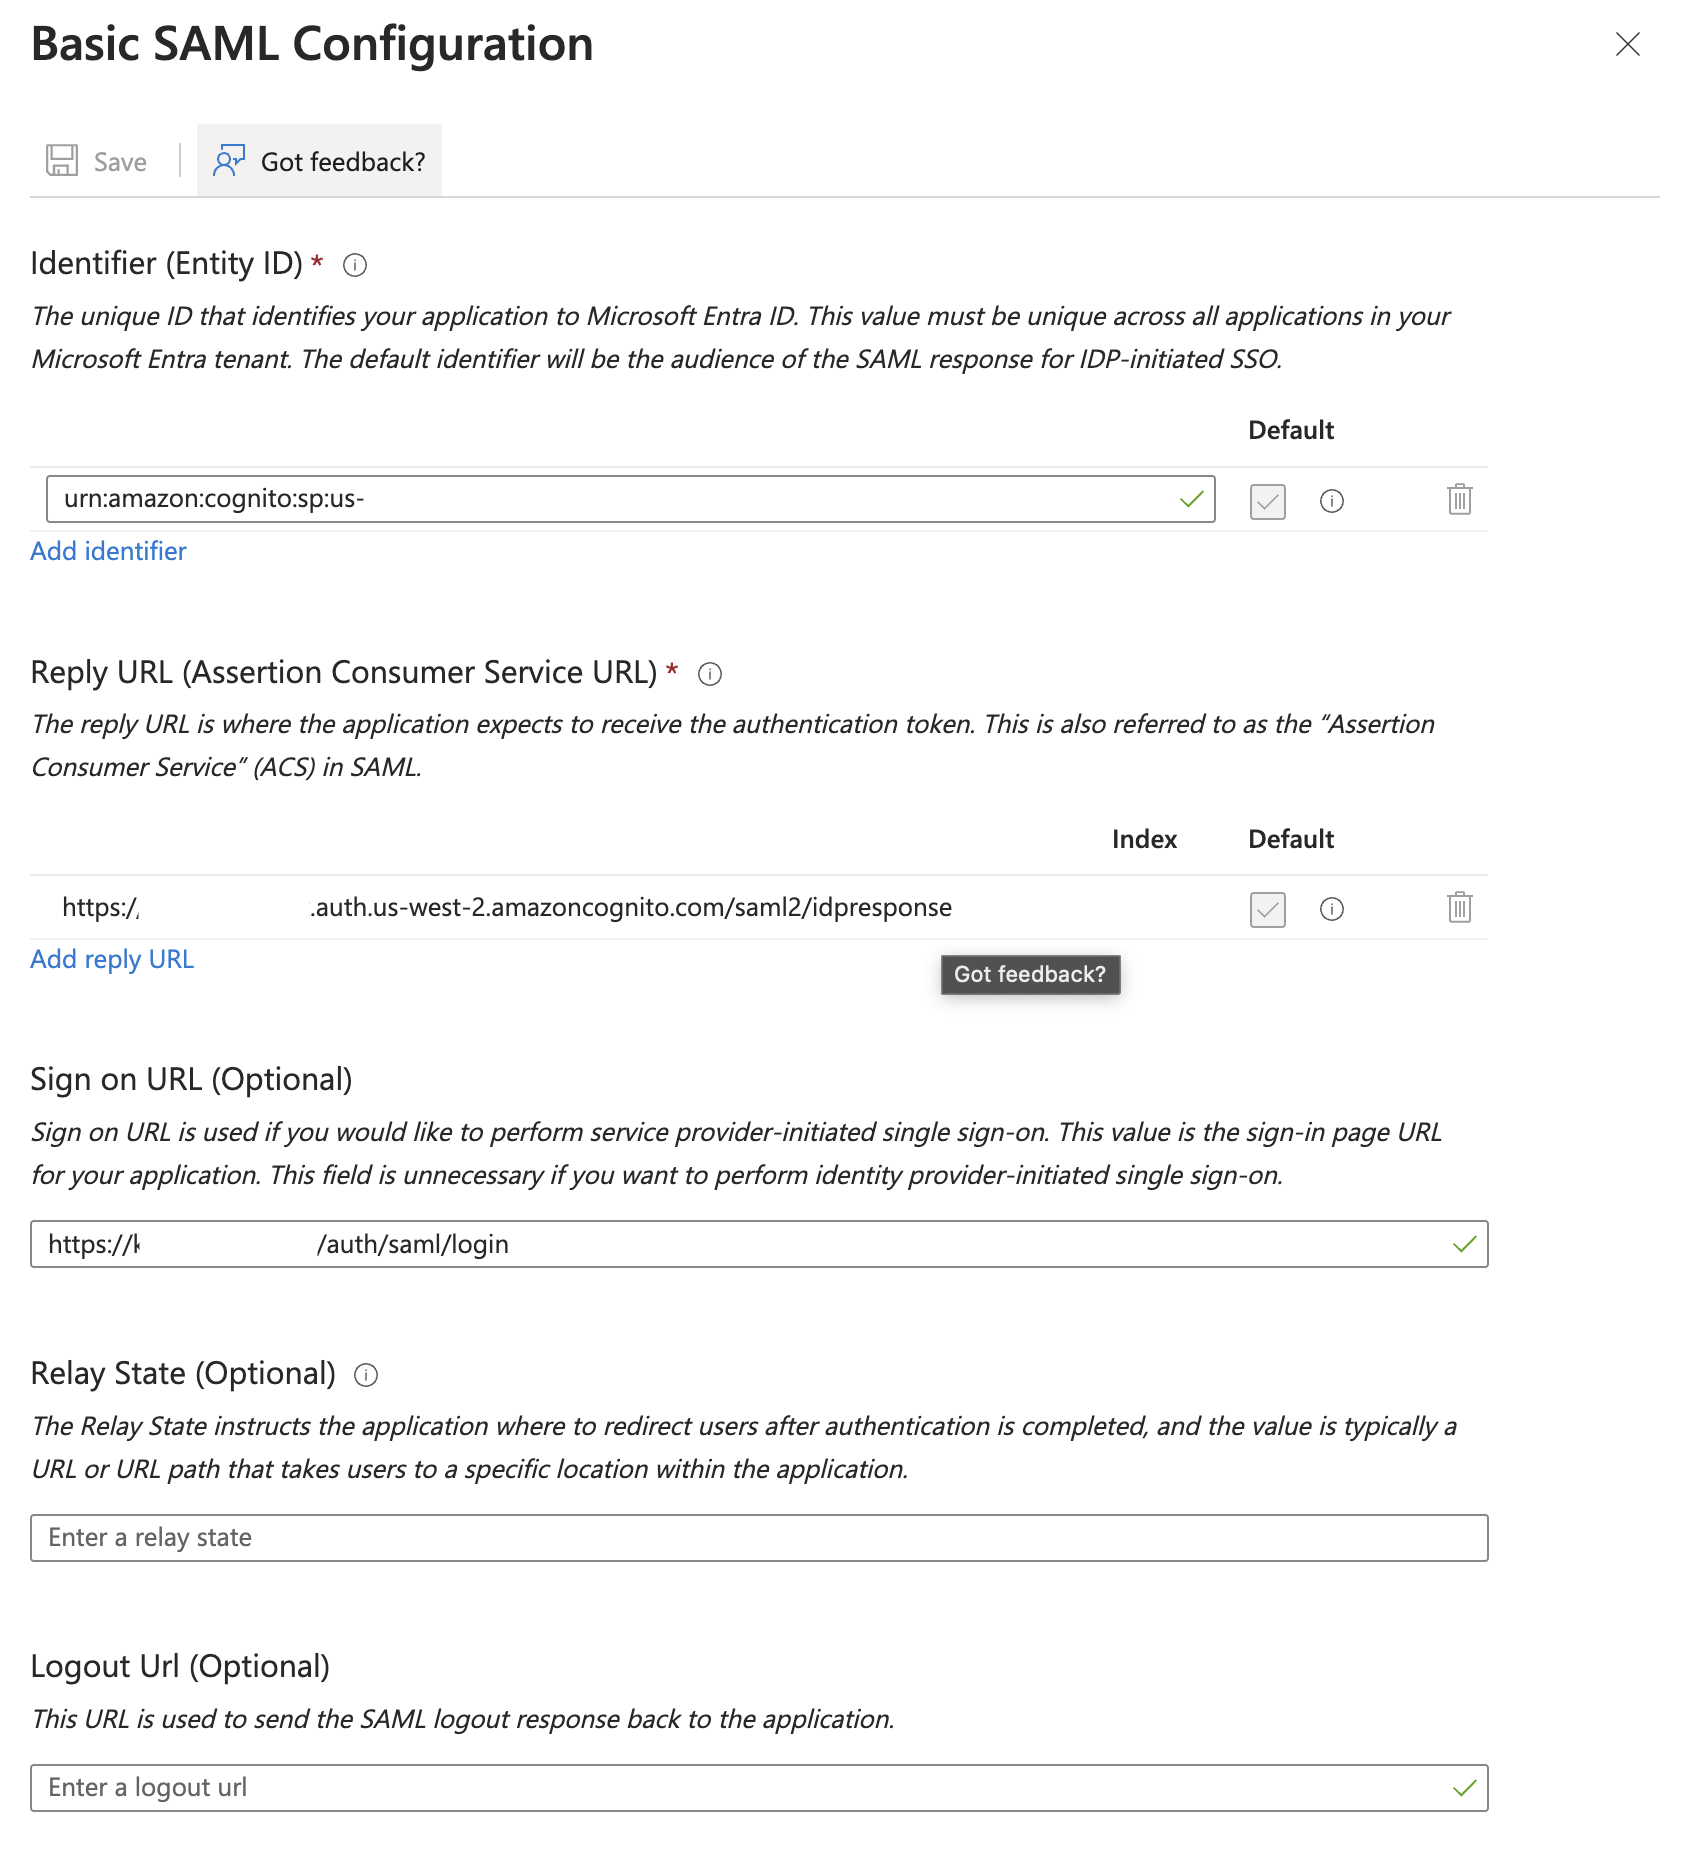
In the right pane under Basic SAML Configuration, replace the default Identifier ID (Entity ID) with the Identifier (Entity ID) the Kubit Team has provided.
- In the Reply URL (Assertion Consumer Service URL) field, enter the Reply URL the Kubit Team has provided.
- In the Sing on URL (Optional) field, enter the Login URL the Kubit Team has provided.
- Choose Save.
3. Attributes mapping
-
In the middle pane under Set up Single Sign-On with SAML, in the Attributes & Claims section, choose Edit.
-
Choose Add a group claim.
-
On the Attributes & Claims page, in the right pane under Group Claims, select Groups assigned to the application, and leave Source attribute as Group ID. Choose Save.

-
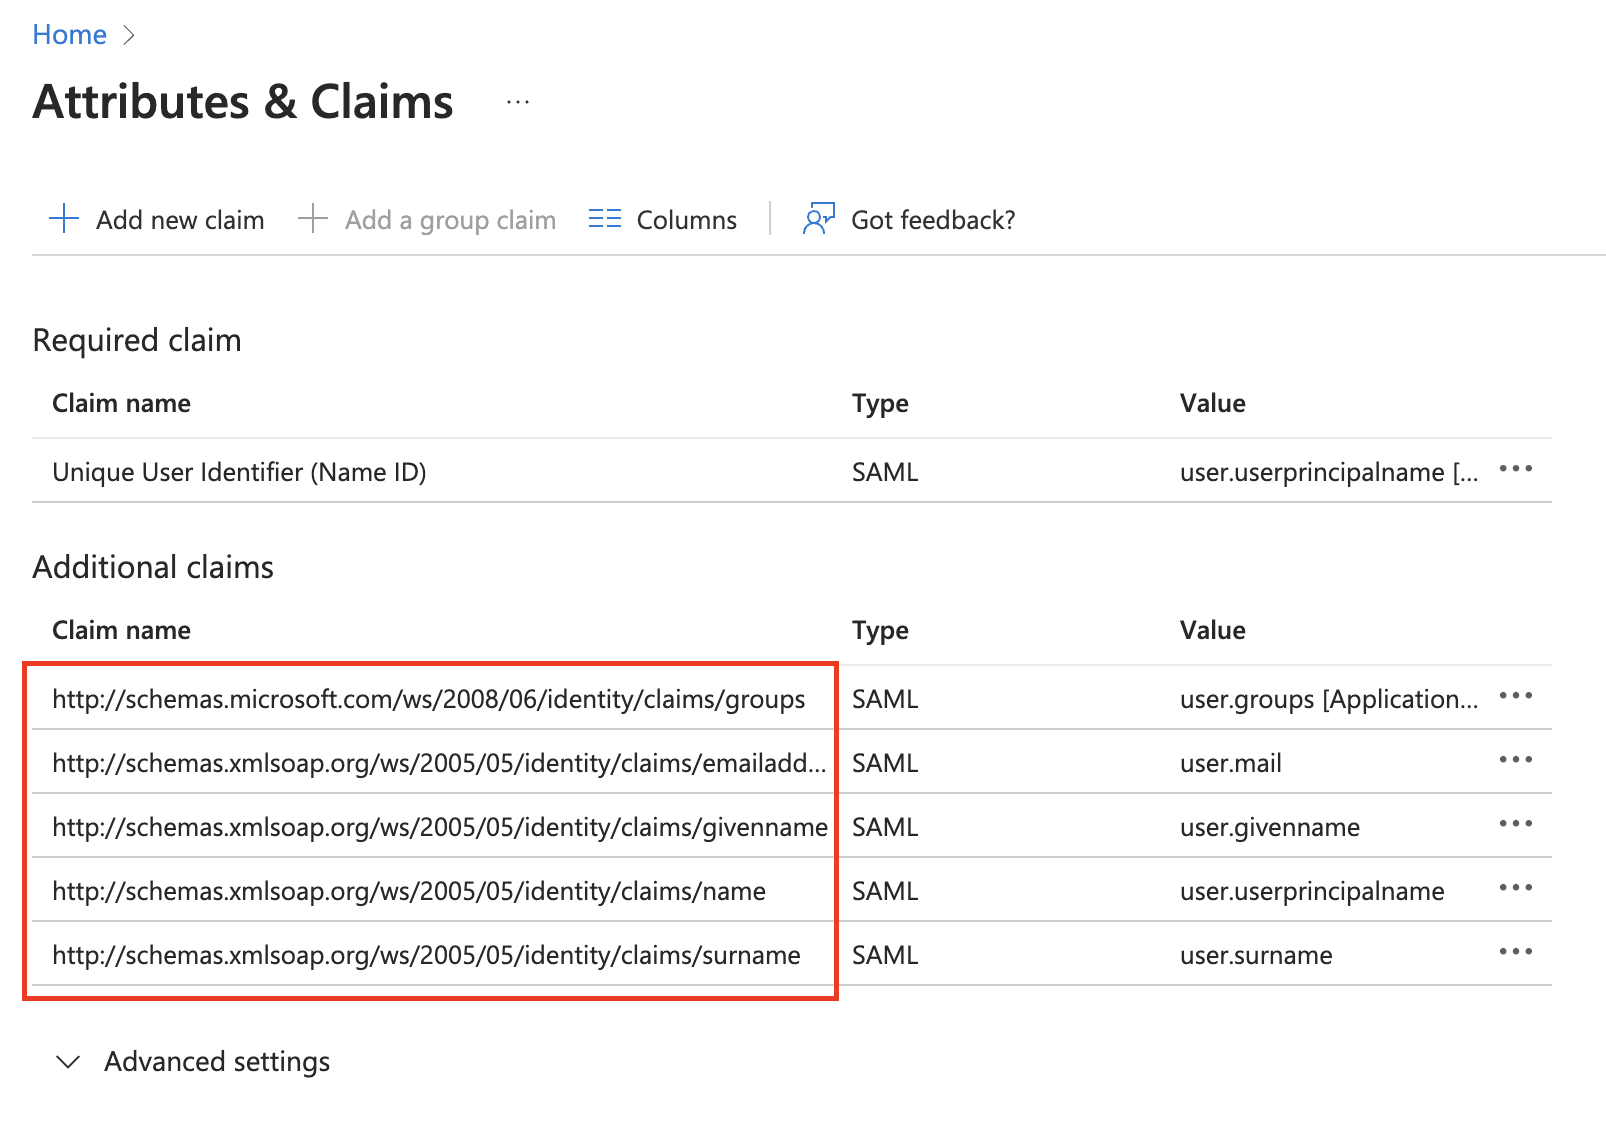
If you have a picture/photo attribute click on the Add new claim button. A new screen called Manage claim will open. User
pictureas Name and the valuehttp://schemas.xmlsoap.org/ws/2005/05/identity/claimsas Namespace. Search for a picture or photo attribute under the Source attribute field. Click on the attribute to select it and click the Save button.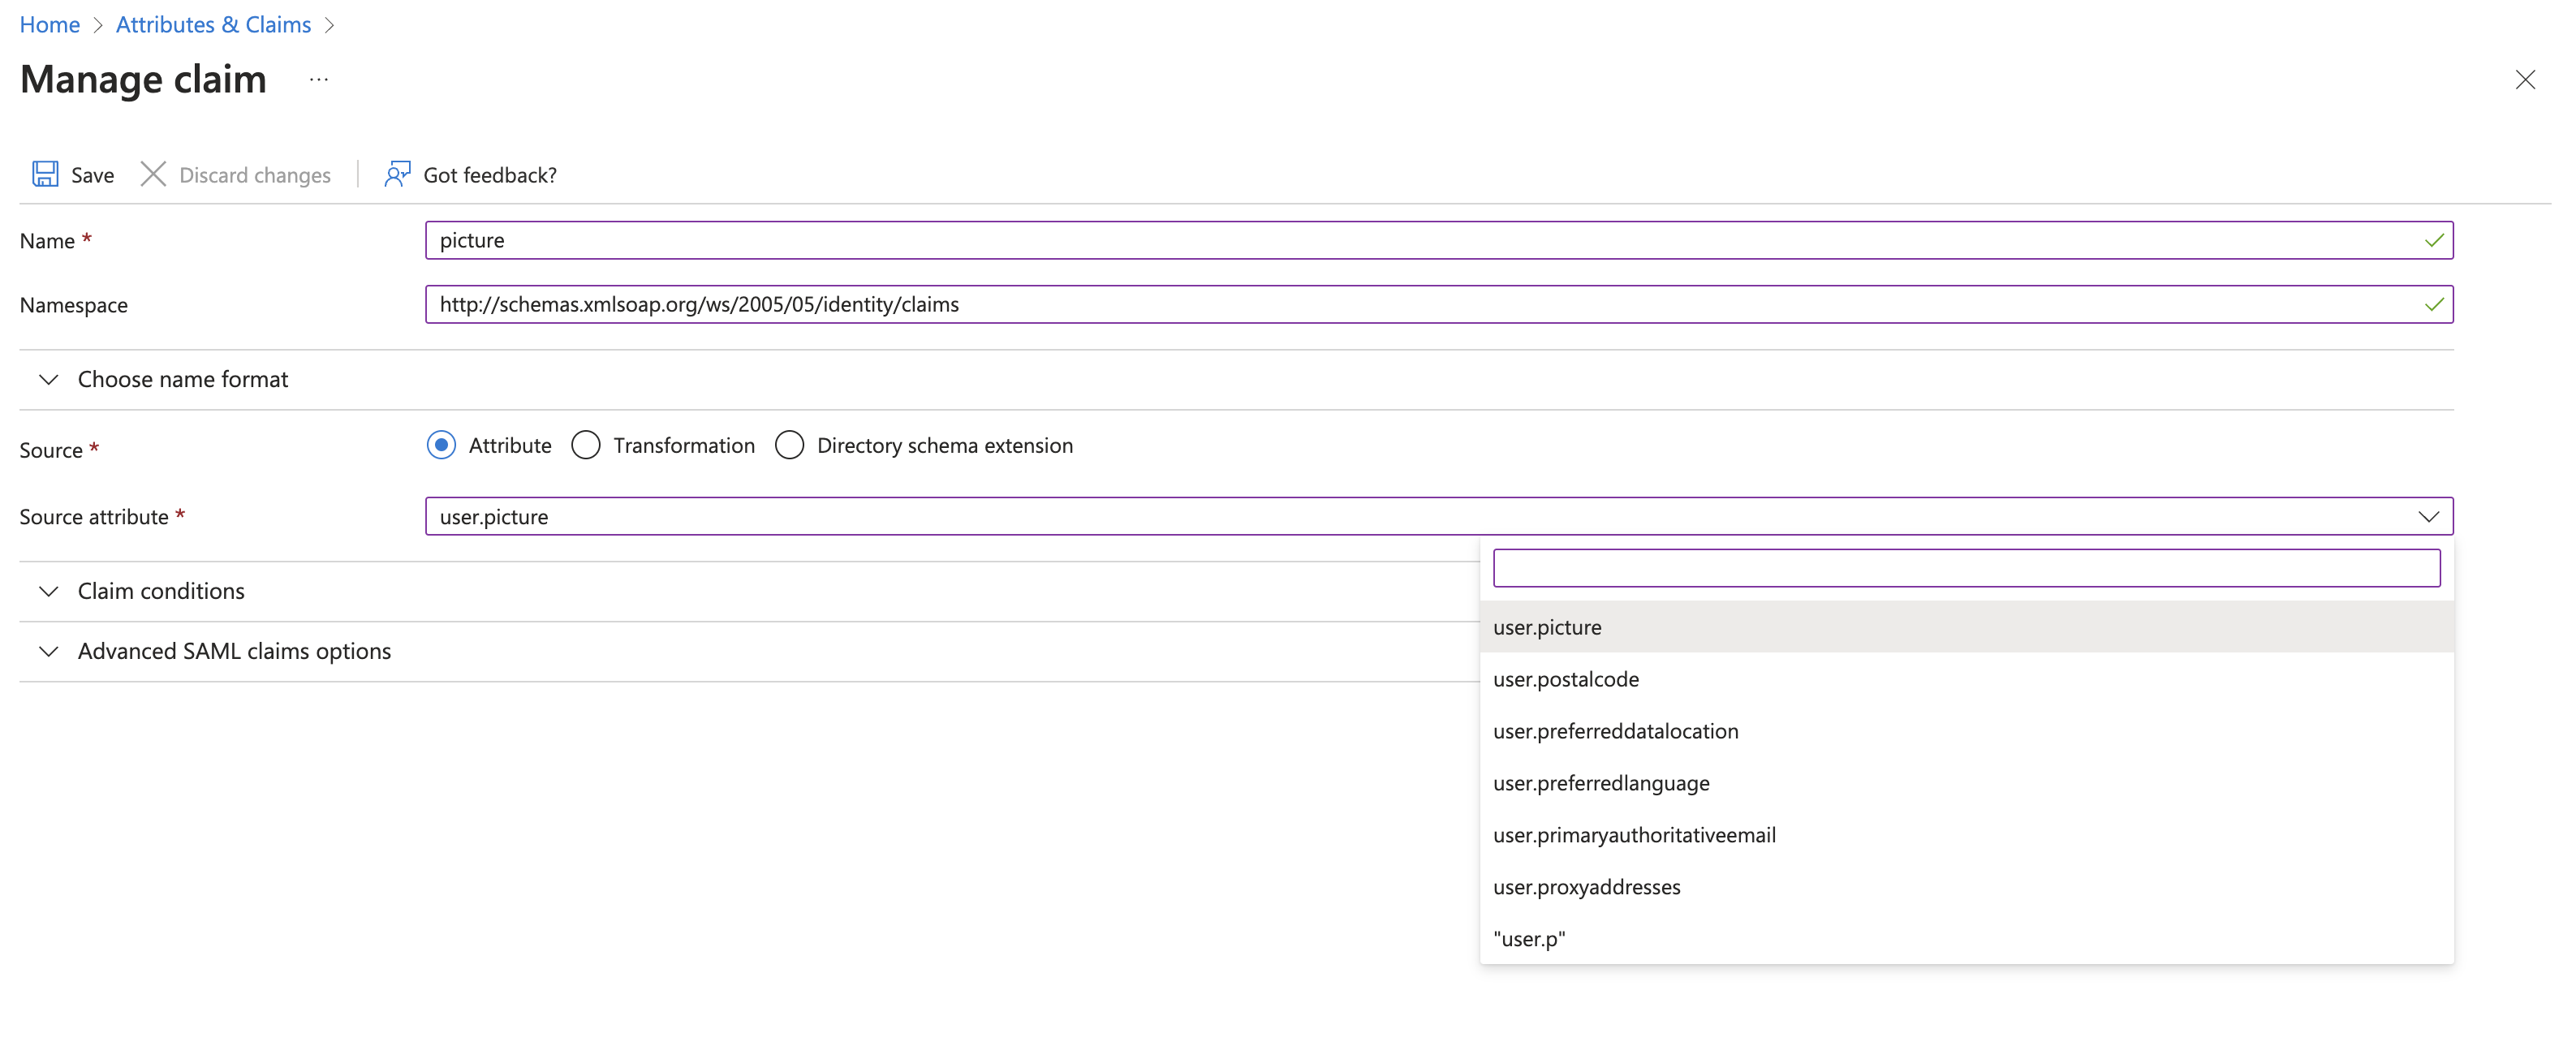
-
Note down the Claim names under Additional claims and provide those to the Kubit Team.
-
Close the Attributes & Claims screen by choosing the X in the top right corner. You’ll be redirected to the Set up Single Sign-on with SAML page.
4. Share metadata URL with Kubit
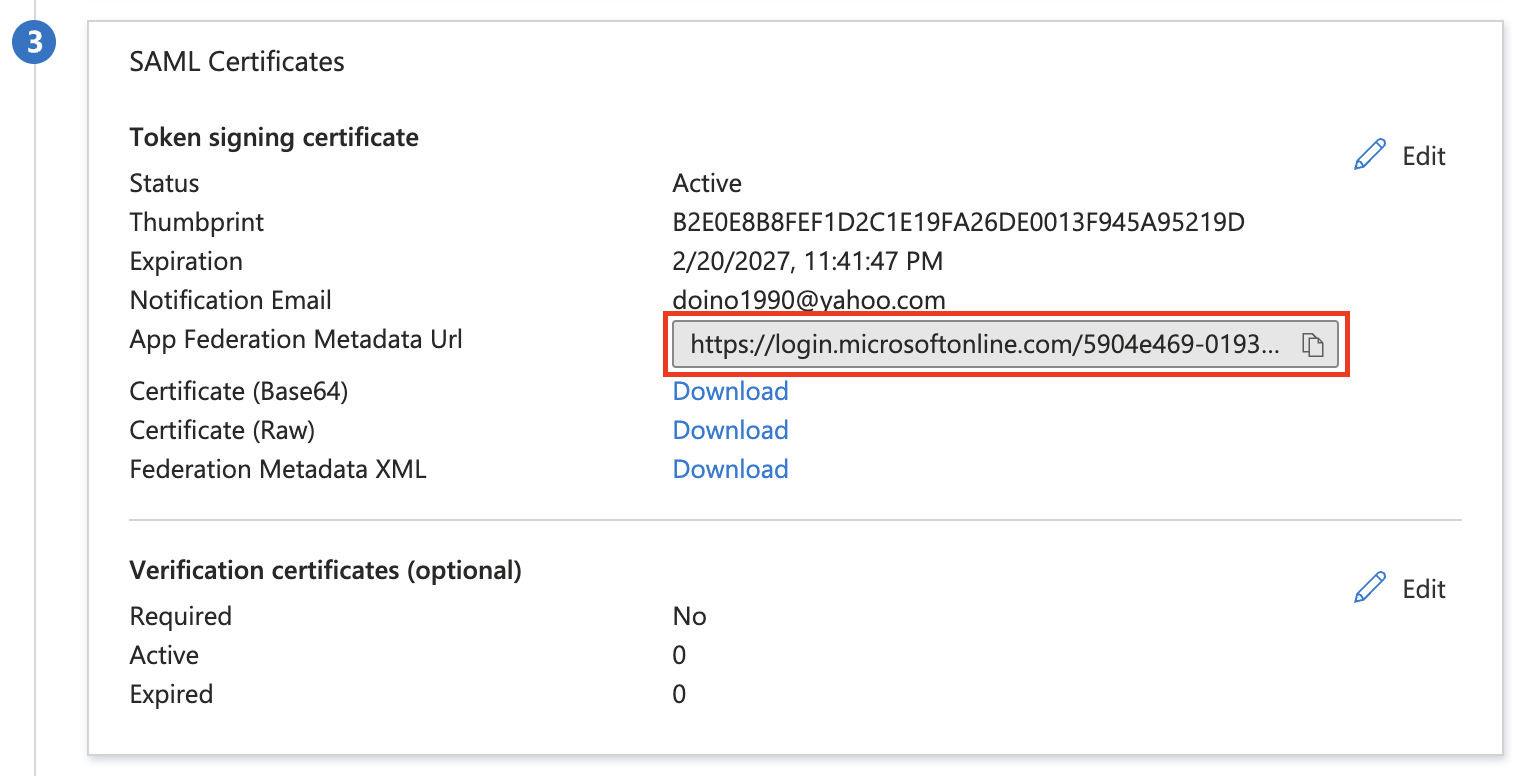
Scroll down to the SAML Signing Certificate section, and copy the App Federation Metadata Url by choosing the copy into clipboard icon. Please provide that URL to the Kubit Team.
Please, provide the collected information to the Kubit Team. Once we're done with configurations on our side we'll contact you.
5. Test
Once configured properly on both sides, please work with the Kubit Team to test the integration. You will be provided a test URL.
6. Open Access
You may choose to turn on Kubit App to everyone, or a specific group.
Updated 6 months ago